shoot the moon
Wednesday, May 9th, 2012People often ask how I shoot things like lightning, meteor showers, the moon. To be honest, it took a lot of attempts and screw ups and reading for me to manage any level of competency and I’m *still* screwing up and I’m *still* learning. But after the recent supermoon event, I thought it might be helpful to document a little of my process. The moon, unlike lightning, is something you can plan for well in advance (thank you, SCIENCE!). And unlike meteor showers, you can know exactly where it is going to be. It’s also pretty big, which makes locating it less of a mystery.
ye olde supermoon rising
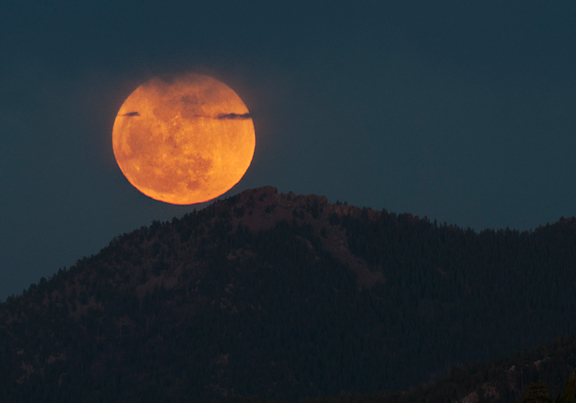
When I first took interest in photographing the moon, I would see it outside, grab my camera and take some photos. I usually got bupkis, or something close to it. My moon was a teeny white dot on a sea of black night sky, usually void of any details. The nice thing about the moon is that it makes a regular appearance in the sky and the great advantage of digital is that I could burn tons of crappy images and learn from my countless mistakes relatively quickly.
here is the setup i used on the supermoon
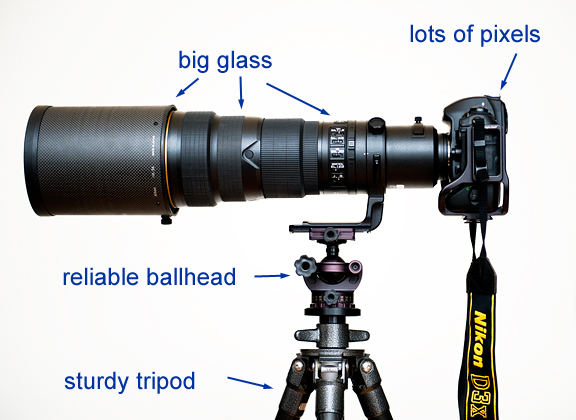
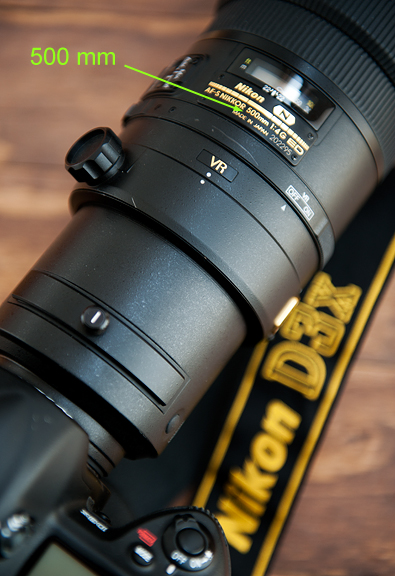
Right now, I’m gunning for a big moon, because I have never nailed that to my satisfaction. I don’t do enough serious telephoto photography to justify dropping $8,000+ on a single lens and I don’t know that I ever will. However, I do have the option to rent these very expensive, very wonderful, very powerful telephoto lenses from my friends at Pro Photo Rental in Boulder (they ship US and Canada). You can, of course, do remarkable work with landscape captures of the moon. My mentor and friend, Michael Frye, achieves this routinely (and beautifully). The lens I used was the AF-S NIKKOR 500mm f4G ED VR, slapped onto my Nikon D3X (full frame, 24.5 MP). I wanted as many pixels as I could get to resolve detail on the surface of the moon. As it was, capturing the supermoon with the 500mm on my D3X yielded a moon that was only 2.3% the area of the image. Small, huh? Crop city.
the lens weighs over 8 pounds
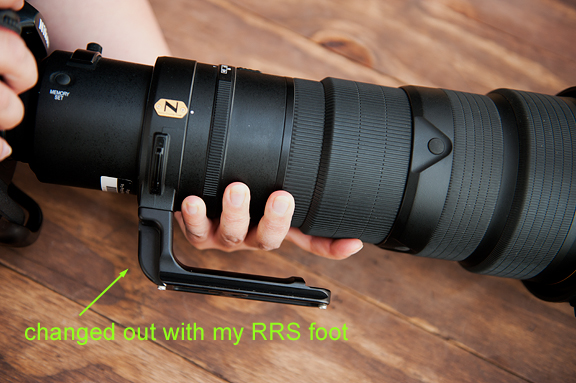
i always swap out the foot
It’s important to note that just because you get a hold of a lens, like let’s say, a 500mm lens for a day, don’t expect that you’re going to know how to use it the first time you try it out. There’s an adjustment going from your typical 50mm to a 500mm (or even to a 300mm). It’s a different beast altogether. Practice well before “go time”. Take a look at your images and figure out what you’re doing. Do your homework. How many people have purchased new gear right before going on a big trip? I’ve done that. Missing a great shot because you didn’t figure out the technical details when you should have is sad. Been there.
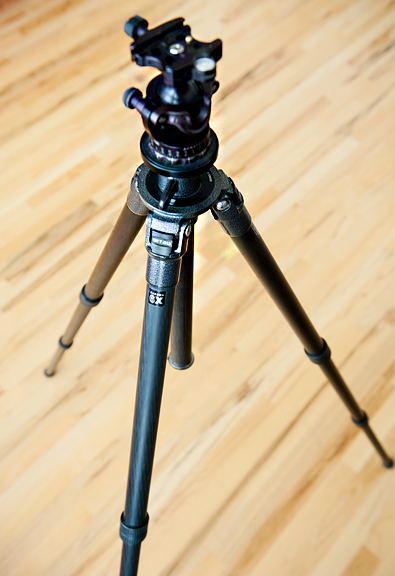
I currently use the Really Right Stuff (RRS) system of quick-release clamps, L-plates, and lens feet. So I invested in the RRS lens feet for the Nikkor 200mm-400mm telephoto zoom and the Nikkor 500mm pictured above for the couple times a year that I do use those lenses. This ensures that the lenses are mounted rock solid to my tripod and ballhead (Acratech) setup. Speaking of tripods…
gitzo gt3531 series 3 carbon 6x tripod
**Jump for more butter**


