baked oats green chile chicken enchiladas chow mein bakery-style butter cookies


copyright jennifer yu © 2004-2023 all rights reserved: no photos or content may be reproduced without prior written consent

archive for fermentation

alas, the baguette

Monday, April 23rd, 2018

Recipe: sourdough baguettes

After spending the last two months trying different recipes and employing a variety of techniques, I think I’ve finally found the right sourdough baguette recipe! By “right”, I mean it has all of the qualities I seek in a sourdough baguette. I have not traveled the world in search of the finest baguettes, but I do know what I like. My desire to document how to make a sourdough baguette is mostly for my own convenience as my notes are currently scattered between several messy and cryptic pages in my recipe notebook.

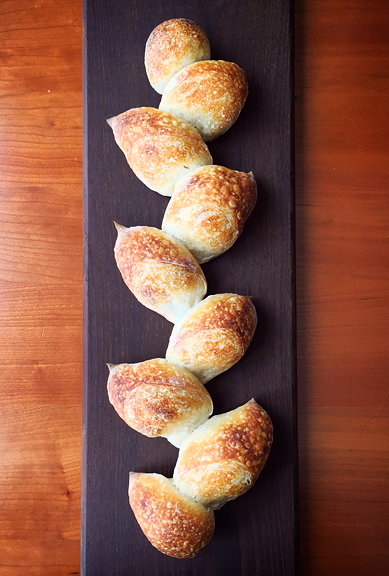
So what makes a good baguette in my book? I love the slightly floral and mildly sour notes that come from using sourdough starter as opposed to added yeast. The interior should have an airy and delicate structure without being mostly holes. I want to sink my teeth into bread, not air. It should have a well-browned crust with shine and blisters. That crust ought to crackle and shatter when cut. And my biggest motivation for making my own baguette: the base should not be caked in flour (ahem, Boulder Whole Foods). If someone made the perfect baguette, I would gladly buy it. Now I don’t need to.

Making the baguettes spans 3 days for me. The first day is mere minutes in the evening when you make the levain. The second day is the bulk of the time commitment. The autolyse step (letting the flour(s) absorb the water) can be as short as 30 minutes up to 4 hours. I tend to mix the dough early in the morning and give myself a 4 hour window to work, get a workout, run errands, etc. Then I spend the next 2.5 hours near the dough, but it only requires a minute of my time every 30 minutes to turn the dough (four sets of folds at 90 degree rotations). After the last turn, the dough can rest 30 minutes to an hour. I always choose the longer period of time which may or may not be a good thing. Once shaped, I put my dough in the refrigerator for a 12-24 hour cold proof. This means you need to make space for something like baguettes which require a lot of area, but not much height. I don’t proof at room temperature because I find shaping and handling cold dough to be far easier. The next day, I bake the bread which takes about 35-40 minutes per baguette. Planning when to fit this into your schedule is probably the hardest part.

The unicorn was the baguette. The rainbow unicorn was the épi de blé or sheaf of wheat.


my épi de blé

testing whole wheat percentages


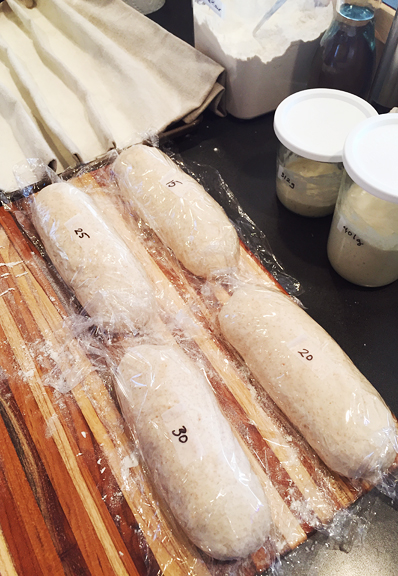
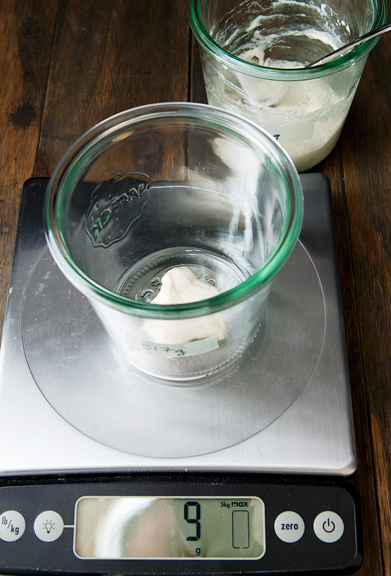
My baguette expedition rambled through a few recipes before I circled back to the dough used for my favorite sourdough bread, which is based on the recipe from Tartine in San Francisco. All the steps are the same up to the shaping, but I decided to swap some whole wheat flour for a little of the bread flour, gram for gram. [Using a kitchen scale rather than cups is going to see you to greater consistency and success when baking breads.] I made and we taste tested 0%, 2.5%, 5%, 10%, 15%, 20%, 25%, and 30% whole wheat flour baguettes. They all tasted GREAT. If entertaining, I would make a 0% (all bread flour) or 10% (10% whole wheat flour and 90% bread flour) baguette. The 0% is classic, but the 10% has a subtle nuttiness that I really love without feeling any heavier than the 0% baguette. The baguette does start to taste a little less floral and less sweet at 25% and 30% whole wheat flour.

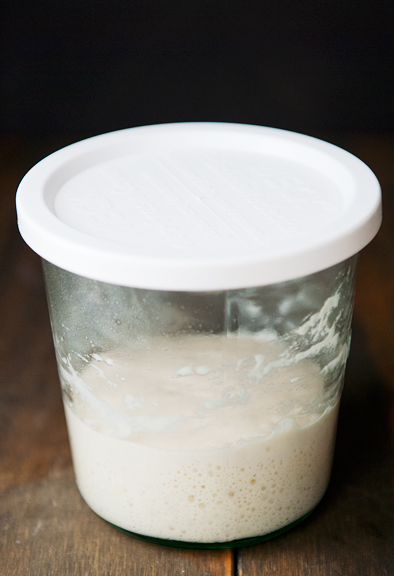
This sourdough baguette recipe doesn’t use any additional yeast, it relies on the sourdough starter for leavening. If my starter is in the refrigerator, I’ll bring it to room temperature and feed it daily for a couple of days before making the levain on the evening of day 1 (sometimes I call it day 0).


the starter should be fed, happy, and bubbling

weigh out the starter

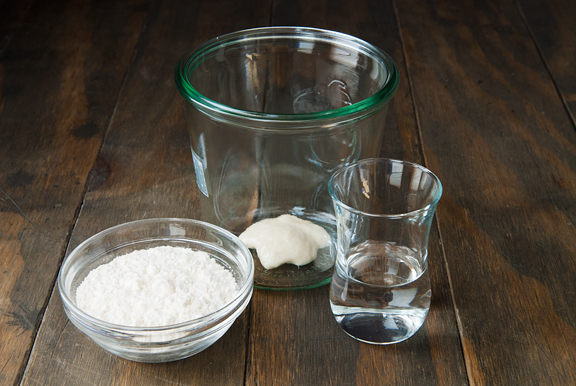
the levain: starter, bread flour, water

stir together

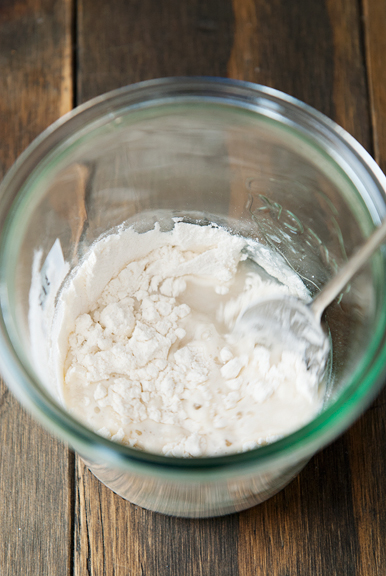
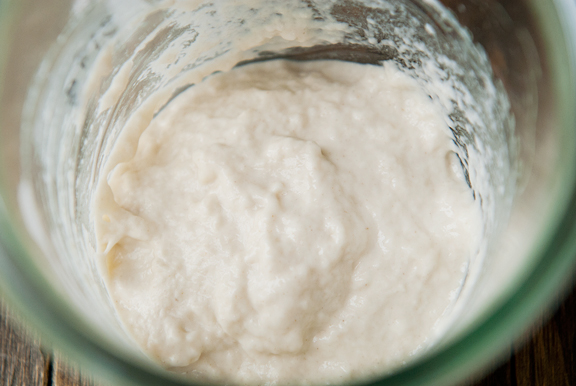
leave no dry pockets of flour

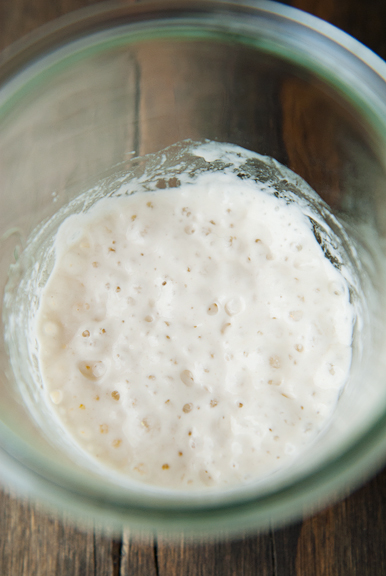
the levain is bubbly and ready after 8-12 hours


**Jump for more butter**

you bet your boocha

Monday, February 19th, 2018

Recipe: kombucha (plain, ginger, huckleberry ginger)

Happy Chinese New Year! The house has been cleaned, dumplings eaten, luck symbol hung upside down on the front door (translates to “luck arrives”), parents called, and red envelopes delivered to young friends. A low-key lunar new year celebration was just right for me, mostly because my February has been dedicated to fermentation. In addition to making delicious breads from my sourdough starter, I am also brewing kombucha!

Kombucha is fermented sweet tea. My motivation for brewing my own kombucha (booch) was more curiosity than anything else. I like the stuff, but drank it infrequently because it can become a spendy habit. Yet, kombucha is ridiculously easy and inexpensive to make. The only “exotic” component is the scoby, which stands for Symbiotic Culture of Bacteria and Yeast. Think of it as the equivalent to the mother for making vinegar. You can purchase scobys (try a local homebrew supply store or go online), get one from a friend, or make your own. Once you have a scoby, you’re set (unless you kill it – don’t kill it).

I got my scoby from my buddy, Erin (Canyon Erin), who grew hers from its infancy and split one off for me with some starter tea. I named it Scooby. Scobys are weird, ugly, and a little gross looking – at first. After brewing a few batches, you will come to love your scoby(s) like a pet. It feels rubbery and slippery, and all manner of random things float untidily off of it in the tea. But the scoby is what transforms plain old sweet tea into magical, fizzy, slightly alcoholic (less than 1%), tangy kombucha.


meet scooby, my scoby


Making kombucha is easy. I’m on my fourth batch now. The long instructions look daunting, but that’s only because the instructions are for newbies so they don’t kill their scoby. It basically comes down to: make sweet tea, stir in starter tea, slide the scoby into the tea, cover, ferment, bottle, carbonate, refrigerate. But there are tons of additional notes that go with that list.

I use purified water because our municipal water is chlorinated (I checked the town water quality report online) and chlorine can kill your happy bacteria. I read from a bread baker discussion that you can leave the water out on the counter for a day and the chlorine will evaporate because it’s rather volatile. So there’s that. For my first batches of kombucha, I stuck with organic black tea. Plain black tea works well. You can use other teas like green teas or white teas or a combination of teas, but avoid flavored teas – especially ones with added oils. And I make the sweet tea with organic granulated sugar. Please, people, don’t use artificial sweeteners. You will starve your scoby because it requires real sugar. The sugar is not for you, it is for the fermentation process. The starter tea comes from the previous batch of kombucha. If you bought or were given a scoby, it should have come in some starter tea.


sugar, black tea, scoby, purified water, and starter tea


The first step to making kombucha is to brew sweet tea. Boil your water, stir in the sugar until dissolved, and then drop your tea bags or loose tea in. Let the tea steep until the liquid has come to room temperature because hot tea is going to kill your yeasts and bacteria. If you are in a hurry, you can set your pot of tea in an ice bath to cool it down faster, but I prefer to leave mine in a cool part of the house for a few hours. My climate is quite arid, so while the tea is cooling I cover the scoby with a bowl or slip it into the starter tea to prevent it from drying out.

adding sugar to the boiled water

steep the tea until the water cools to room temperature

remove the tea bags (or strain the loose tea)


**Jump for more butter**

no need to fear

Wednesday, February 4th, 2015

Recipe: chinese fermented sweet rice (jiu niang)

We are two weeks away from the Lunar New Year, which I’ve always known as Chinese New Year. If you are wondering what to make for a party or for your own celebratory dinner, I refer you to my Chinese New Year recipe round up from last year to help give you a few ideas.

I consider myself a very lucky girl. I’ve always been pretty happy (except in graduate school – sheesh) and a little silly and very much loved by my family. It’s that love which anchored me from an early age. Wherever I went and whatever I did as a kid, I had a warm fuzzy feeling in my heart. I know now that much of that warm fuzzy was because of Grandma, who was always there for me. We had our routine: a daily walk around the neighborhood, making her bed together every morning (good habits!), putting my hair into cute little pigtails, emptying the sand from my saddle shoes when I got home from school, folding laundry together while watching cartoons. This kind and gentle matriarch would create special Chinese treats from scratch in our 1970s southern Virginia kitchen while I sat on the counter next to her, pretending to be the neighbor’s dog. These memories are so vivid in my mind. I told my friend over the weekend that Grandma has been gone for almost four years and yet I still feel her presence in my heart. She is just that much a part of me.

Last November, when my parents were in Boulder, Mom told me she was going to make jiu niang or Chinese fermented sweet rice. This was one of Grandma’s specialties that I used to sneak spoonfuls of from the refrigerator – that sweet rice porridge floating in rice wine with the slight fizzy tang of fermentation. She would turn it into a hot sweet soup for celebrations or to help kick a cold, flu, or tummy ache. I loved it so much. You can buy it pre-made in Asian grocery stores, but it’s expensive for a pretty small quantity. “Come down and learn how to make it,” Mom commanded. She had been trying for a few years to reproduce Grandma’s recipe, but with mixed results. Now, Mom had finally mastered it with consistency and it meant a lot to her because she too loved, cherished, and missed her mother. It wasn’t something I could put off. Mom and Dad were flying back to Virginia in a few days and as I get older I know not to take time for granted. “Okay, Mom. How about Saturday?”


start with good quality sweet rice

and chinese rice wine yeast


It’s just two ingredients, but you need to get the right two ingredients. You can’t use sushi rice, brown rice, jasmine rice, wild rice, long grain rice, medium grain rice, black rice, whatever rice that isn’t sweet rice – you must use sweet rice. Sweet rice is also known as glutinous rice, which contains no gluten, it’s just really sticky. I’ve shopped around for sweet rice and have seen some bagged varieties with grains that look longish, almost like medium grains. My advice is to get the good stuff. Premium sweet rice resembles short, fat, pearly, oblong grains. As for the Chinese rice wine yeast – it’s jiu qu (see Wikipedia) – a fermentation starter. This one can be tough to find even if you know what you are looking for. It always seems to be tucked away in some random little bin or corner of Asian grocery stores. Luckily for me, Mom had already found them at Pacific Ocean Market in Broomfield, so she told me where to look (by the refrigerated canned drinks at the front near the cashiers). If you can’t find it or if the employees in the store act like your Chinese is just THAT BAD, you can order it from Amazon – but you have to order a dozen and they’re four times as much as what I paid (I paid $.79 for two balls).

2.5 pounds of sweet rice (uncooked) and a ball of chinese rice wine yeast

crush the yeast ball with a mortar and pestle

turn it into a powder


**Jump for more butter**