baked oats green chile chicken enchiladas chow mein bakery-style butter cookies


copyright jennifer yu © 2004-2023 all rights reserved: no photos or content may be reproduced without prior written consent

archive for technique

zip and zing

Sunday, April 29th, 2018

Recipe: fresh ginger beer

I jumped the gun a couple of weeks ago and had my hair cut off, donating the 10-12 inch ponytails to Pantene Beautiful Lengths. My reasoning for keeping it long was for ease of management under my ski helmet, but with a lousy ski season nearing its end and the warming weather, I couldn’t resist!


flowering trees going crazy down on the flats

short hair is super refreshing on sunny trail runs


Despite pledging my allegiance to spring, when it snowed 10 inches this past week we immediately grabbed the skis and headed out for a little backcountry touring. It was very crunchy and knobbly underneath, because the crazy warm days had melted most of the snow which froze the slushy footprints and suncups into icy divots overnight. But the soft fluffy stuff falling from the sky made for fun turns, giggles and whoops echoing through the valley, and a renewed declaration of our love of skiing.

skinning up

skiing out

neva in the moment, in the snow


Whether it’s snowing or sunshining, I’m always up for a refreshing glass of ginger beer. I’ve tasted several brands of store-bought ginger beer over the years, preferring those with a sharper gingery bite and less sugar than their popular cousin, ginger ale. Earlier this year, I was determined to brew my own ginger beer. I tried this authentic alcoholic ginger beer from Food 52 and had to pour the bulk of it down the drain because it tasted so awful. I wondered if perhaps it was the alcohol? The next recipe I tried from Serious Eats only had 2 days of fermentation. Sadly, it didn’t register much higher than my first attempt at ginger beer. Both seemed to have an oddly soapy flavor to the ginger beer. I was so frustrated.

Fast forward a few weeks and Jeremy and I had a lunch date at Oak in Boulder where I sipped on their homemade ginger beer. So fizzy and bright and full of “punch you in the face” ginger flavor. I later emailed the restaurant, relaying my tale of woe and wasted ginger, and asked if they would be willing to give me some tips on making my own ginger beer. These incredibly nice people replied within a few hours and gave me their recipe.


sugar, ginger, lemon, water, topo chico (or any soda water)


Their version isn’t something I can reproduce at home. They combine fresh ginger juice, lemon juice, sugar, and water, and then they carbonate it. My version combines fresh ginger juice, lemon juice, simple syrup, and carbonated water. Why not?

simple syrup: water and sugar


**Jump for more butter**

alas, the baguette

Monday, April 23rd, 2018

Recipe: sourdough baguettes

After spending the last two months trying different recipes and employing a variety of techniques, I think I’ve finally found the right sourdough baguette recipe! By “right”, I mean it has all of the qualities I seek in a sourdough baguette. I have not traveled the world in search of the finest baguettes, but I do know what I like. My desire to document how to make a sourdough baguette is mostly for my own convenience as my notes are currently scattered between several messy and cryptic pages in my recipe notebook.

So what makes a good baguette in my book? I love the slightly floral and mildly sour notes that come from using sourdough starter as opposed to added yeast. The interior should have an airy and delicate structure without being mostly holes. I want to sink my teeth into bread, not air. It should have a well-browned crust with shine and blisters. That crust ought to crackle and shatter when cut. And my biggest motivation for making my own baguette: the base should not be caked in flour (ahem, Boulder Whole Foods). If someone made the perfect baguette, I would gladly buy it. Now I don’t need to.

Making the baguettes spans 3 days for me. The first day is mere minutes in the evening when you make the levain. The second day is the bulk of the time commitment. The autolyse step (letting the flour(s) absorb the water) can be as short as 30 minutes up to 4 hours. I tend to mix the dough early in the morning and give myself a 4 hour window to work, get a workout, run errands, etc. Then I spend the next 2.5 hours near the dough, but it only requires a minute of my time every 30 minutes to turn the dough (four sets of folds at 90 degree rotations). After the last turn, the dough can rest 30 minutes to an hour. I always choose the longer period of time which may or may not be a good thing. Once shaped, I put my dough in the refrigerator for a 12-24 hour cold proof. This means you need to make space for something like baguettes which require a lot of area, but not much height. I don’t proof at room temperature because I find shaping and handling cold dough to be far easier. The next day, I bake the bread which takes about 35-40 minutes per baguette. Planning when to fit this into your schedule is probably the hardest part.

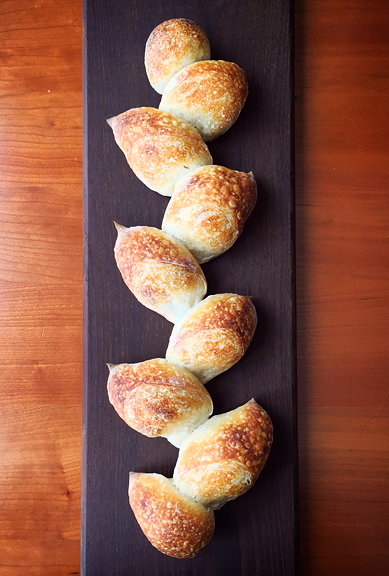
The unicorn was the baguette. The rainbow unicorn was the épi de blé or sheaf of wheat.


my épi de blé

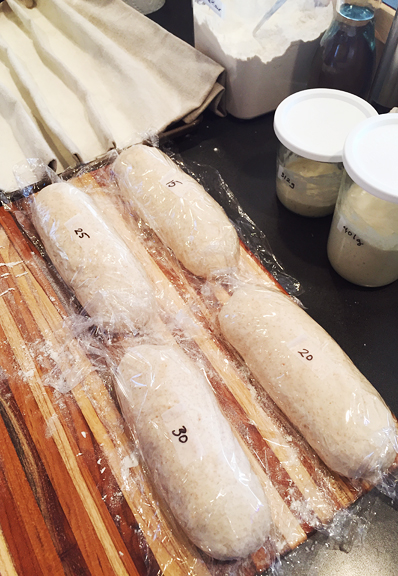
testing whole wheat percentages


My baguette expedition rambled through a few recipes before I circled back to the dough used for my favorite sourdough bread, which is based on the recipe from Tartine in San Francisco. All the steps are the same up to the shaping, but I decided to swap some whole wheat flour for a little of the bread flour, gram for gram. [Using a kitchen scale rather than cups is going to see you to greater consistency and success when baking breads.] I made and we taste tested 0%, 2.5%, 5%, 10%, 15%, 20%, 25%, and 30% whole wheat flour baguettes. They all tasted GREAT. If entertaining, I would make a 0% (all bread flour) or 10% (10% whole wheat flour and 90% bread flour) baguette. The 0% is classic, but the 10% has a subtle nuttiness that I really love without feeling any heavier than the 0% baguette. The baguette does start to taste a little less floral and less sweet at 25% and 30% whole wheat flour.

This sourdough baguette recipe doesn’t use any additional yeast, it relies on the sourdough starter for leavening. If my starter is in the refrigerator, I’ll bring it to room temperature and feed it daily for a couple of days before making the levain on the evening of day 1 (sometimes I call it day 0).


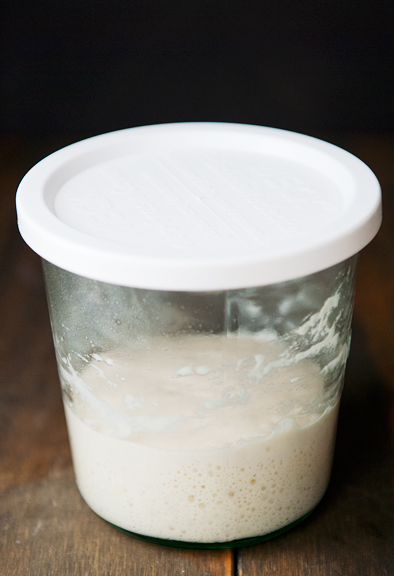
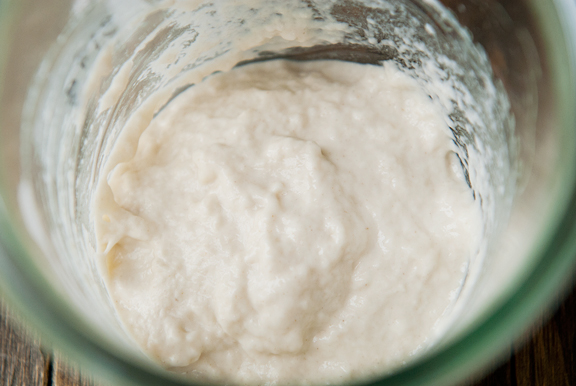
the starter should be fed, happy, and bubbling

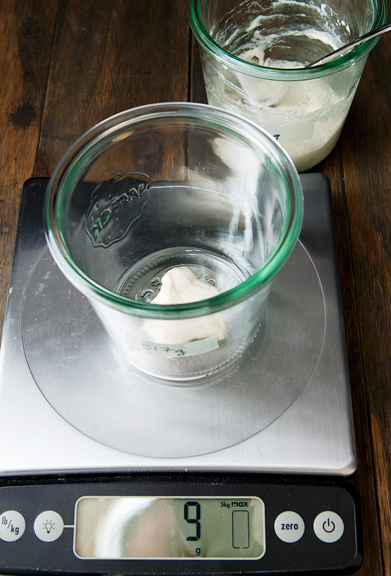
weigh out the starter

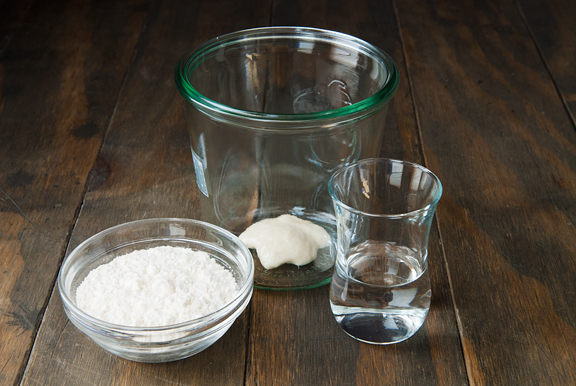
the levain: starter, bread flour, water

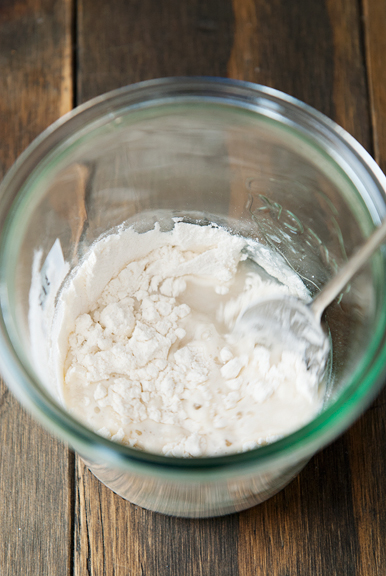
stir together

leave no dry pockets of flour

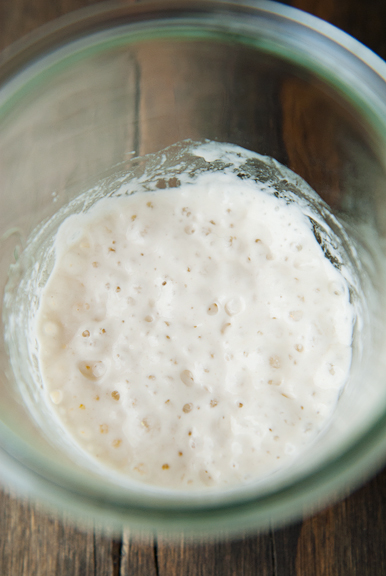
the levain is bubbly and ready after 8-12 hours


**Jump for more butter**
winter, we hardly knew ya

Tuesday, March 13th, 2018

Recipe: sous vide hamburgers

Looking at my calendar, I see the first day of Spring is next week and I have two thoughts: 1) Woohoo, SPRING! and 2) Where the hell was winter? Winter visited us for about a week or two in February, but overall I think it dissed us for the season. We didn’t even get our skis tuned, and I was happy about that every time I ran over a rock in the backcountry (which I wasn’t happy about, but hey – I try to be positive). Now, with the sun rising ever higher in the sky, temperature plays into when you ski. That is… assuming there is snow to ski. I sometimes feel like I just want to give this ski season a big ole boot in the ass and shout “good riddance!” But then when I’m out there on the snow, I remember why I love skiing.


neva was soooooo excited to get out into the backcountry

both of them patiently waiting for me to take a photo

jeremy skins up crappy snow (but at least there is snow)


Last week, my dad texted me to ask at what temperature do I sous vide my burgers. Ever since I taught my parents how to text, they text me all the time with photos of their food, pictures of wine bottles, random reports of their activities (“We are shopping at Costco” – of course they are), selfies from their travels, texts that were meant for other people, and Googleable questions that require immediate responses. I thought I had blogged the recipe, but I hadn’t. So I checked my recipe notebook and sent Dad the various temperature ranges and times for different levels of doneness. I got a kissing emoji reply which meant that I had unlocked the Good Chinese Daughter achievement.

I hadn’t thought to sous vide burgers until my friend, Debra, mentioned that she prepares her burgers this way regularly. The first time we tried it, I couldn’t believe how juicy they were. And now we don’t prepare our burgers any other way.


salt, pepper, fish sauce, beef


You’re probably wondering what’s up with the fish sauce. This is a tip I learned from my friends, Todd and Diane: add a dash of fish sauce to your burgers for that extra umami blast. It doesn’t taste fish saucy, it just tastes damn good. Clearly, I pick up lots of excellent beta from my friends. The key is to have friends who know what they’re talking about. If you don’t want to use fish sauce, just add another half teaspoon of salt. And if you do want to use fish sauce, but need your burger to be gluten-free, there are some decent gluten-free fish sauce brands like Red Boat which is recommended by my friend, Shauna a.k.a. Gluten-free Girl (because I asked her specifically).

yes to the fish sauce


**Jump for more butter**