something shiny
Sunday, February 10th, 2019 Recipe: chocolate mirror glaze
This past week in Crested Butte has seen a good bit of progress for Yuki. She improved her length of sustained running during our skate ski compared to the last few times when she would slow down, fall behind, and then STOP abruptly. We also took her on the mountain at the ski resort for her first uphill ski and she was pretty good despite so many new and loud distractions like ski patrol, snow mobiles, and large grooming machines. Yuki was a trooper through it all and it helped tremendously to have Neva present to show her there was nothing to be afraid of, but rather everything to be excited about. Crested Butte provides an excellent environment for dog activities with its consistent snow, designated dog-friendly Nordic trails, dog-friendly uphill policies at the ski resort, and good backcountry coverage.
when it is -25°F outside, we stay home and snuggle until it warms up
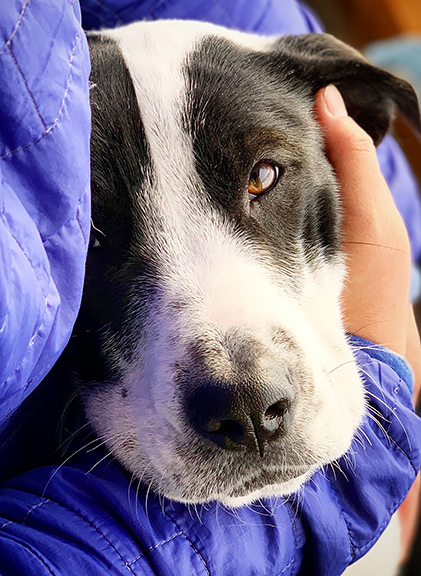
enjoying the nordic trails on a bluebird day
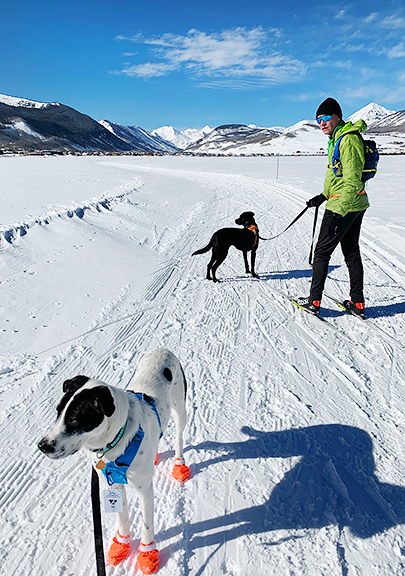
frost flowers form on the river when it is really cold and calm
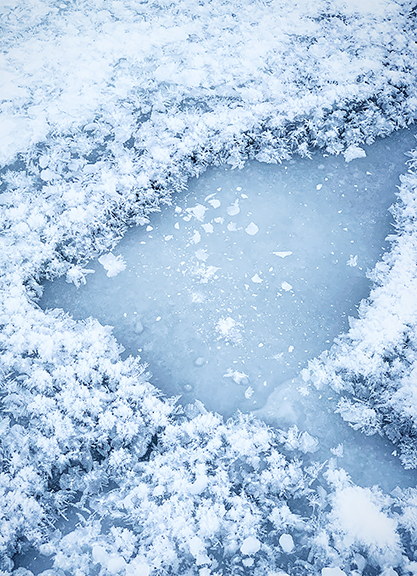
skiing out after skinning up the mountain with the pups
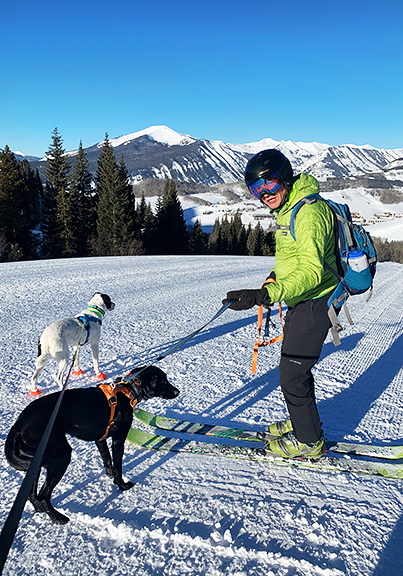
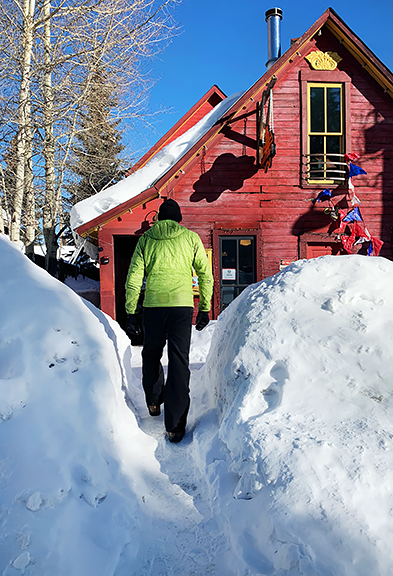
plenty of snow down in town
I see Valentine’s Day on the calendar this week and have absolutely zero plans except to possibly ski a powder day. Oh wait, I *do* have something for you all. Last September, I made a random chocolate raspberry mousse cake for Jeremy’s birthday and a few people had asked if I would post the recipe. I didn’t feel there was a recipe to post since most of the cake was made from components that have already been published on the blog. However, the chocolate mirror glaze was new, and that’s what I will discuss in this post. A glossy dark chocolate mirror glaze lends a nice wow factor to a dessert and is pretty easy to whip up. I’ll also go through the steps of my cake assembly, but the cake under the glaze can be (almost) anything you like.
The chocolate chiffon cake and the chocolate mousse recipes come from my chocolate mousse bombes recipe. If you plan to make the chocolate chiffon cake, I blogged the recipe for the hazelnut praline paste last week. In this example, I baked two 6×2-inch rounds of the chocolate chiffon cake and leveled the tops to give me two 1-inch layers of cake. This uses half of the chocolate chiffon cake recipe which can yield three 6×2-inch cakes (I had extra batter left over). I doubled the mousse recipe because I wanted enough mousse to form a half-inch layer around the cake and a thin layer on top of the cake. For raspberries, I had 3 cups of fresh raspberries for filling the mousse layer as well as garnishing the cake.
trimmed cake layers, raspberries, and chocolate mousse

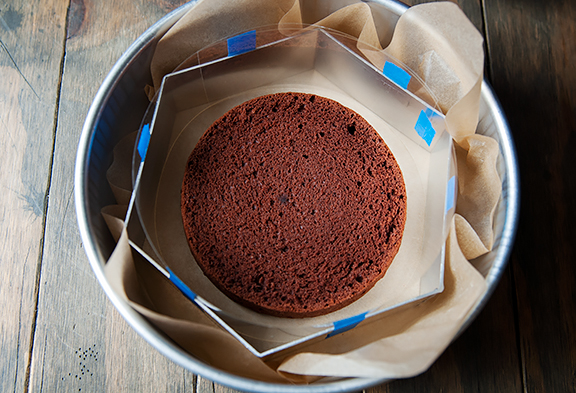
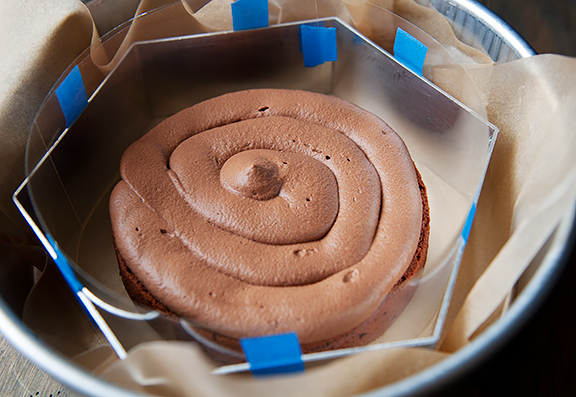
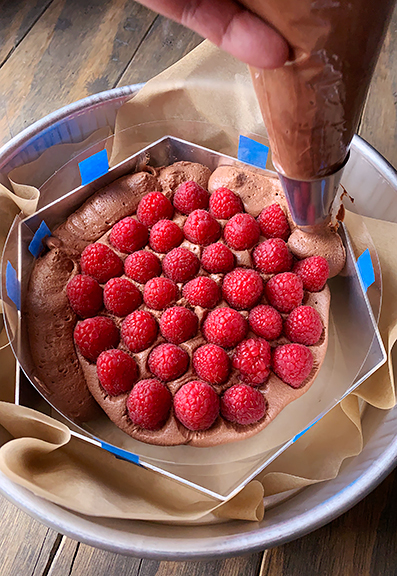
I couldn’t find a 7-inch ring mold anywhere in town, but managed to improvise one using an 8-inch (point-to-point) hexagonal ring mold whose side-to-side measurement was 7 inches. I taped a strip of 4-inch acetate in a circle around the inside of the mold and set it on parchment inside of a larger (9-inch) baking pan. I set the first cake layer down in the center (base to bottom), then piped mousse on top of it (piping makes it easier). I pressed the raspberries into the mousse, not worrying too much about mousse spilling over the edge since I was surrounding the cake with a mousse layer. Next, I filled the gaps between the cake and the acetate strip with mousse. In hindsight, I should have used a smaller piping tip because it is difficult to fill the tight spots, but it mostly worked.
center the cake in the mold
top with mousse
arrange the raspberries in the mousse
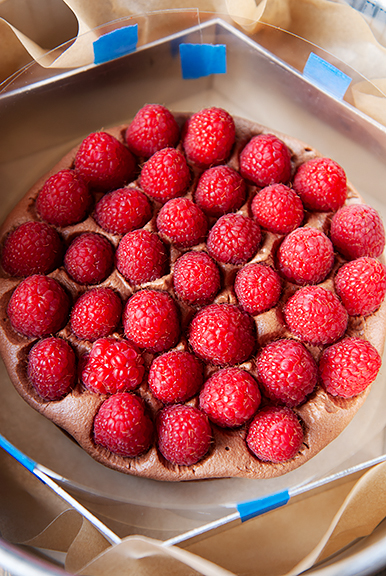
fill the sides with mousse to the raspberry level
**Jump for more butter**


