baked oats green chile chicken enchiladas chow mein bakery-style butter cookies


copyright jennifer yu © 2004-2023 all rights reserved: no photos or content may be reproduced without prior written consent

archive for chocolate

and now, chocolate

Sunday, October 29th, 2017

Recipe: huckleberry pistachio chocolate bar

When the weather cools down for the season, we tend to witness strings of amazing sunrises and sunsets. It means I can take Neva for a fetch session and she doesn’t get too hot in the autumn air. Autumn’s atmospheric volatility is also accompanied by winds, which can make getting outside a little dangerous (tree fall is real, folks) or miserable at best when dirt and small rocks fly at your face and get in your teeth and ears and eyes. But when the winds die down, it’s important to take advantage and maybe hike into the woods for some target practice.


one of many impressive sunsets last week

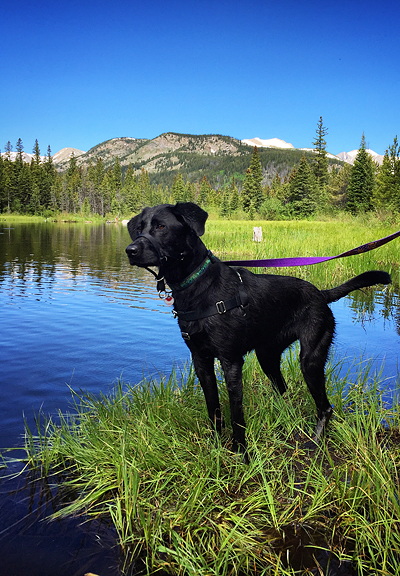
my happy little girl, ready to go home after playing fetch

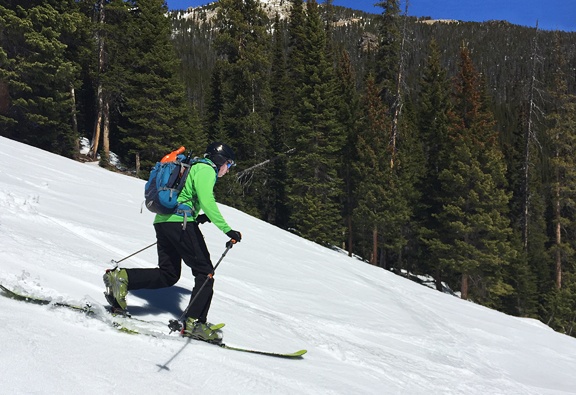
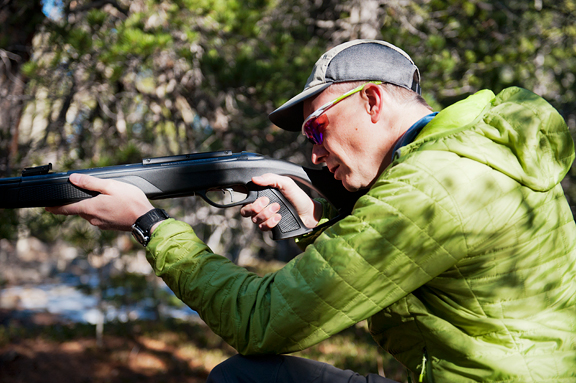
jeremy practicing with his air rifle

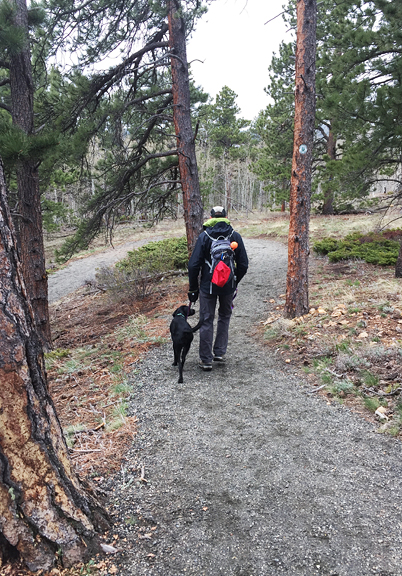
packed up and ready to hike out


I’m not sure I’ll get much in the way of a grouse season this year because there were matsutake mushrooms to be found, huckleberries to pick, things got busy, and I was late getting my air rifle and learning to use it. But I’m okay with that. I think foraging and living in the mountains has taught me long-term planning and patience. Stuff doesn’t necessarily happen when you want it to – especially if you are waiting on something that may or may not grow from year to year.

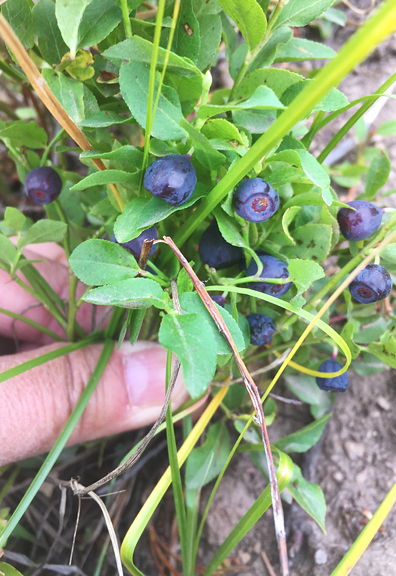
precious precious huckleberries


I began toying with the idea of dried huckleberries a few years ago, but had to wait until I had a season good enough to spare a quart or so of berries to dry. That (amazing) season happened this year. After Erin and Jay were done dehydrating their gigantic haul of matsutake mushrooms, they kindly dehydrated a few cups of my fresh huckleberries for me (120°F for 60 hours!). I knew exactly what I was going to do with those dried huckleberries. I had known for over a year.

Cooler weather around the house means chocolate emerges from its summer hiatus in my kitchen. This is the time I start to bake and ship cookies to friends around the country – when I can be mostly certain that the chocolate won’t melt in transit. This is also when I start to play with ideas for holiday gifts – like chocolate bars. Except I was going to make the ultimate chocolate bar using my dried huckleberries.


pistachios, dried huckleberries, flake sea salt, dark chocolate


Our fresh huckleberries are small to begin with, but dried, they are like dried currants… small ones. Pop one in your mouth and the flavor is subtle at first, until you get to the chewy center and the concentrated berry essence grows into something wonderful. Huckleberries pair exceptionally well with chocolate. While I enjoy working with chocolate, I am not a fan of eating chocolate – except when huckleberries are involved.

teeny tiny delicious dried huckleberries


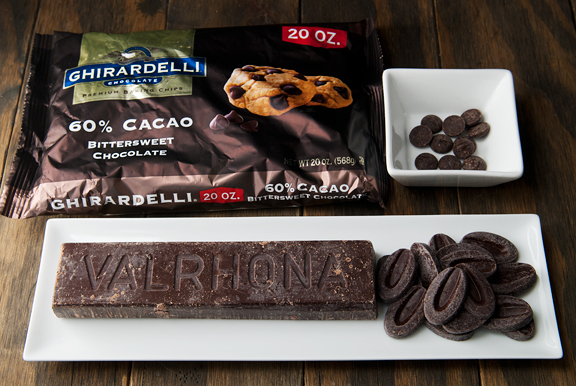
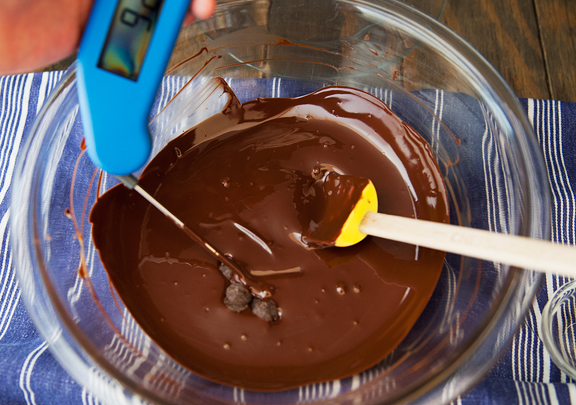
Making a chocolate bar is quite straightforward. Melt or temper your chocolate: dark, milk, or white, but really – dark chocolate is the best; mix in your goodies like nuts, dried fruit, crisped rice, candy, etc.; pour into molds and let set. That’s it. But for anyone who has been reading my blog, you know and I know that tempering chocolate is the right way to do this. And please use a good quality chocolate, especially if you are going to honor the great and mighty huckleberry.

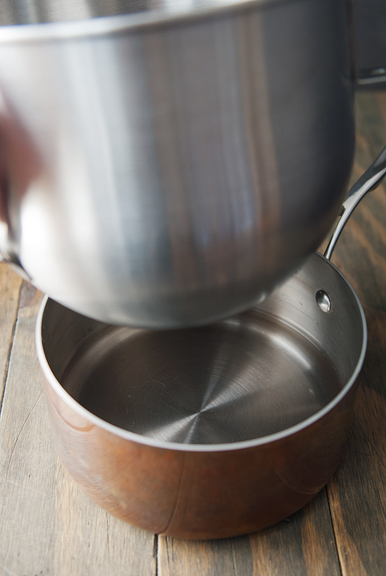
melt the chocolate over a water bath

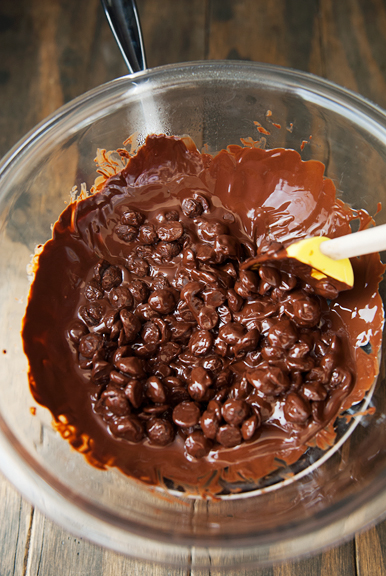
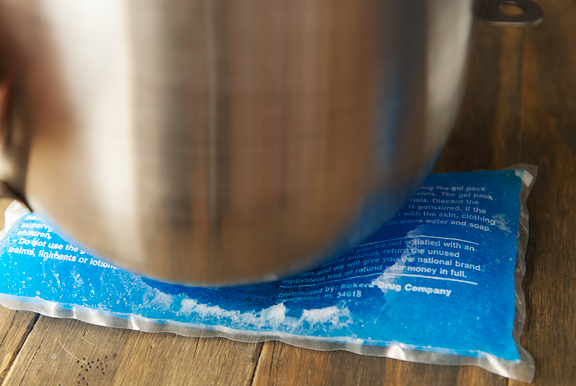
seed the melted chocolate


**Jump for more butter**

sometimes i do dumb things

Monday, June 26th, 2017

Recipe: cherry (ice cream) bombes

My 45 years of experience have taught me that if I don’t schedule my summers, the things I want to do will not get done. Some of those things are “need to do” items like house projects or house maintenance. Some of those things are “stuff I want to do” like hikes and Neva training (actually this is a “want” and a “need” to do item). Maybe that’s why summer is not a relaxing season for me. It’s ALL SYSTEMS GO because the mountains are calling, Neva wants to go out and play, the weather is nice enough to have people over for dinner, summer fruits and mountain forage are begging to be made into recipes, and of course, my parents are in Boulder for the summer. This is also the only time I venture down to Denver – when the roads are free of snow – to visit with good friends. But a drive to Denver once in a blue moon reminds me why I prefer to stay close to the mountains and away from the city. I am officially a country mouse.


let’s go for a hike!

hiking, swimming, having a blast

belated father’s day dinner (dad is happy because… good wine)

ellen being ellen at post oak hall

soup dumplings with erin


When I received a shipment of dark sweet cherries from Stemilt Growers last week, I looked at my notes to see what cherry recipes I wanted to try. There were several easy ones that involved little effort and even less time. Those would have been ideal considering how packed the days are. So of course, I chose a multi-day recipe that involved some technical unknowns (mainly because I didn’t know if it would work) with the potential for great disaster. My idea was to make a cherry bombe – cherry ice cream in a dark chocolate sphere, finished in a red mirror glaze. What could possibly go wrong?

eggs, salt, almond extract, vanilla extract, amaretto, cherries, cream, milk, sugar

pitting cherries

quartered


The cherry ice cream is the easiest part. It involves making a custard base, a cherry purée, and some chopped cherries. I added amaretto because I like boozy almond flavor with cherries, but it’s okay to omit it and stick with almond extract which is also in the recipe. I think I could have gone with more than a pound of cherries, because I like more fruit in my ice cream. So if you do decide to increase the cherries by another 8 ounces or so, just be aware that the final ice cream volume will likely approach one and two-thirds quarts or more. Then again, is there such a thing as too much ice cream? Important questions to ponder…

adding sugar to the cherries

stirring in amaretto after the cherries have simmered

reserve half of the cherries

purée the liquid and remaining cherries


**Jump for more butter**

technique: sous vide tempering chocolate

Wednesday, May 10th, 2017

Technique: sous vide tempering chocolate

Spring in Colorado is that lovely fickle season that throws it all at you – snow, rain, sun, fog, hail. That means flexibility is key to getting outside for some adventure and exercise. In our house, we keep four bins of gear at the ready in our living room. During winter months, the bins are: resort skiing, backcountry skiing/touring, skate skiing, classic skiing. In summer, the bin contents are swapped out for hiking, biking, trail running, and paddling gear. But spring means it’s all a slightly organized mess, a mish mash of late skiing and early running gear co-mingling in a way that mimics the snow and the trails in the backcountry right now.


jeremy skiing in rocky mountain national park

it wasn’t great snow, but right now we’ll just take any snow

après ski visit to trail ridge road

riding in boulder with a nice view of the flatirons

no matter the weather, neva always gets her fetch session


I had planned to get this post up some time Monday after reporting for jury duty in the morning, but against many odds, I was selected for a 2-week trial. Yay?! I’ve been called for jury duty once before about 16 years ago and got selected for a trial then, too. And while I am always hoping to NOT be selected for a jury (somehow I’m batting 0), I will say that it is something many citizens should experience at least once to see the workings, the flaws, and the positive aspects at a local level. Not to mention, the jury selection process alone gives one a rare cross-sectional glimpse into our community. You learn things about people. And if we can’t relate to people, then where does that leave us?

Mother’s Day is this Sunday, and instead of sharing a recipe, I’m sharing a technique with you. Tempering chocolate comes in handy when candymaking or creating edible decorations or dipping things like fruit or cookies. Tempered chocolate results in a more stable chocolate coating that is shiny and has a lovely snap. It is definitely more effort than simply melting chocolate, but for me, the final product is far superior. I’ve shown how I temper chocolate on a number of recipes on this blog (I use the seed method). However, once the chocolate is in temper, it’s really hard for me to maintain the tiny temperature range where it remains in temper – particularly for small batches of a pound or less. After borrowing my friend’s sous vide, I began to look into using it for tempering. I read through Kenji’s overview of chocolate tempering on The Food Lab and decided against the sous vide method. He tempers his chocolate in a sealed pouch which isn’t helpful when I want to dip a lot of things into tempered chocolate. But tempering the chocolate is not the hard part. The challenge lies in keeping the chocolate at a constant temperature so it remains in temper. That’s actually where the sous vide cooker is the perfect solution.


let’s say you want to dip some strawberries in tempered chocolate


There are basically three, maybe four kinds of chocolate: dark chocolate, milk chocolate, white chocolate, and caramelized white chocolate. I haven’t worked with caramelized white chocolate, but one of my clients uses it in her confections. I typically work with dark chocolate, will occasionally temper white chocolate, and very rarely milk chocolate. A warning about white chocolate: don’t use a white chocolate that contains palm kernel oil or coconut oil because it will not temper (it separates and becomes useless). You need to use proper white chocolate that has real cocoa butter, which means it’s going to cost you some money.

you will need chocolate – try to use a good quality chocolate


So let’s temper some dark chocolate using the seed method. The reason I use the seed method is because it’s the one I learned in my pastry skills course a decade ago, and I have enjoyed a high success rate using it. Melt most of your chips, féves, or chopped chocolate (reserve some for seeding) in a bowl over a water bath’s gentle heat until it reaches a nominal temperature, which you are measuring with a thermometer. Yes, use a thermometer. It’s important not to let a single drop of water (including condensation from steam) touch the chocolate because it can seize and you won’t be able to salvage it for tempering. If it does seize, don’t throw that chocolate away! You can still use it in baking and such, just not tempering. In the case of dark chocolate, I try to target 118-120°F as the maximum. Because there is some heat capacity in the body of melted chocolate and the bowl, I find when the temperature reaches 112°F, I can remove the bowl from the water bath and it will continue to rise in temperature to about 118-120°F as I set the bowl on an ice pack or in an ice bath to cool. For milk and white chocolates, your target temperature is a few degrees cooler: 116-118°F, so I would remove the chocolate from the water bath around 110°F.

place most, but not all, of your chocolate in a heatproof bowl

set the bowl over a simmering water bath

cool the chocolate on an ice pack or in an ice bath


**Jump for more butter**